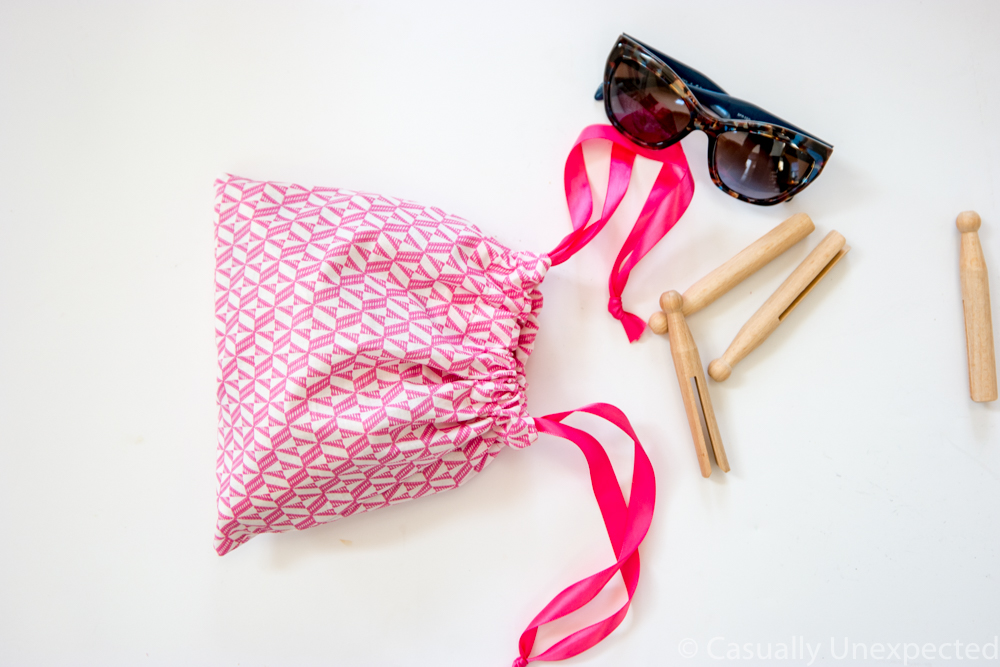
Is organizing the new fad? I sure feel it is. Everywhere I look there are new methods. For example the KonMari Method and systems like it. I said in an earlier post my New Year’s Resolution was to get organized. I’m slowly chipping away at it.
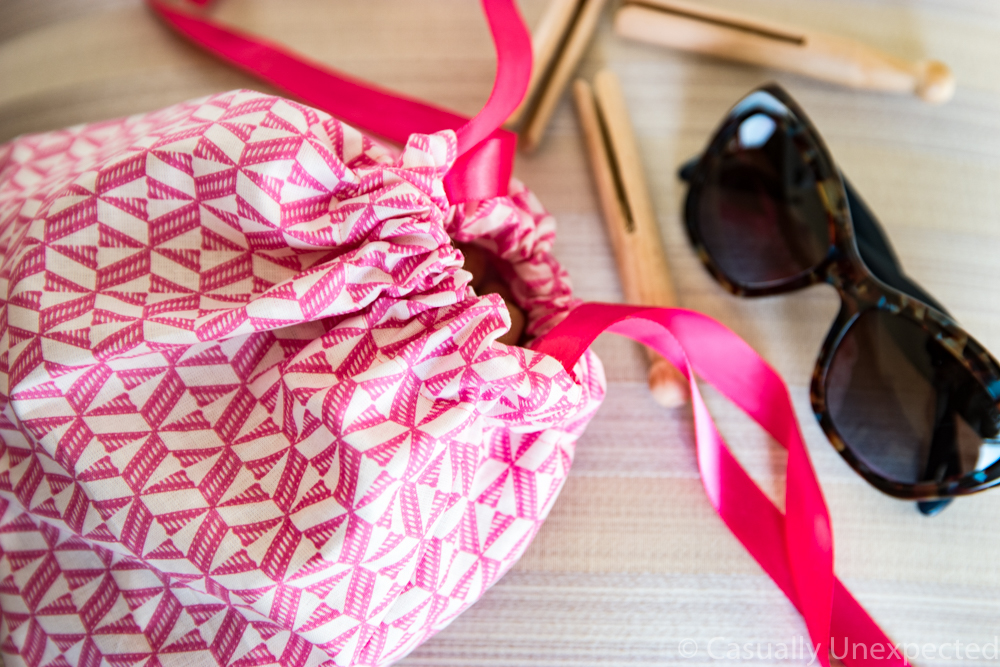
Little Lady received toys for Christmas that desperately needed to get organized as well as a few things I need to keep together. In an attempt to help this resolution along I’ve been sewing little drawstring bags. They are super cute, sooo easy, and let me tell you, quick and affordable! We all know those new organizational systems aren’t easy on the wallet.
I love making these bags. We use them for “wrapping” little gifts too! Cough Valentines Day Cough. Use them to keep your little ones puzzle pieces and finger puppets together or for a cute lunch sack! Seriously, it’s a bag, there are a ton of uses for these things. Let’s get to making!
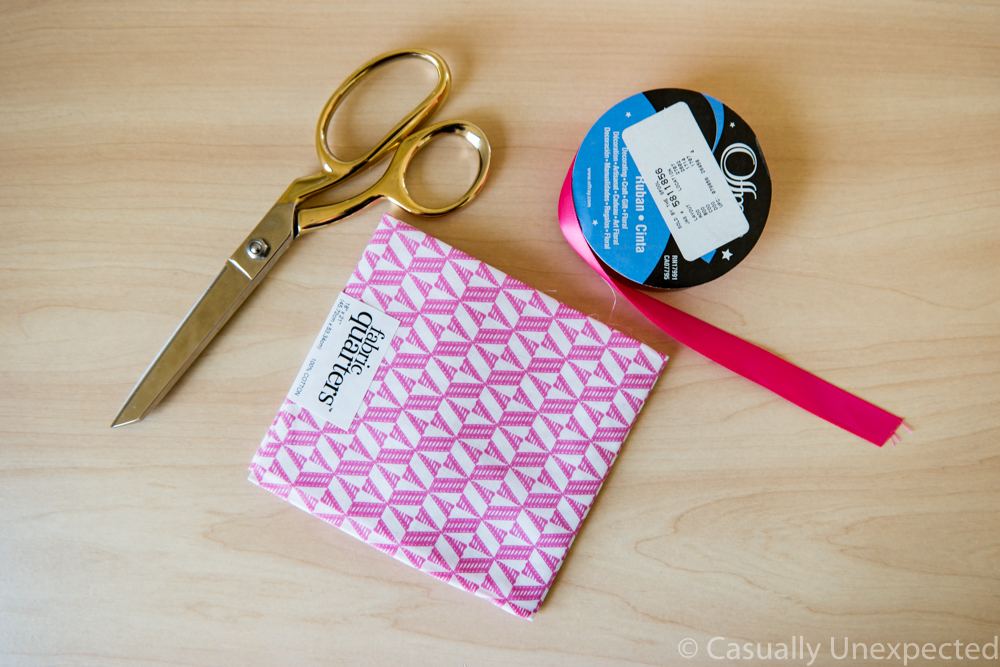
Supplies:
1 Fat Quarter or any 18” by 22” piece of fabric
Ribbon (Length depends on how long you want your drawstrings to be.)
Scissors
Sewing equipment (Sewing machine, pins, etc.)
I used an entire fat quarter and cut it into fourths to make two bags. You can make a big bag and just cut the fabric in half. Either way, you’ll need 2 pieces per bag (front and back.)
Hem the top of each piece of fabric by folding over about a ¼” and sew across.
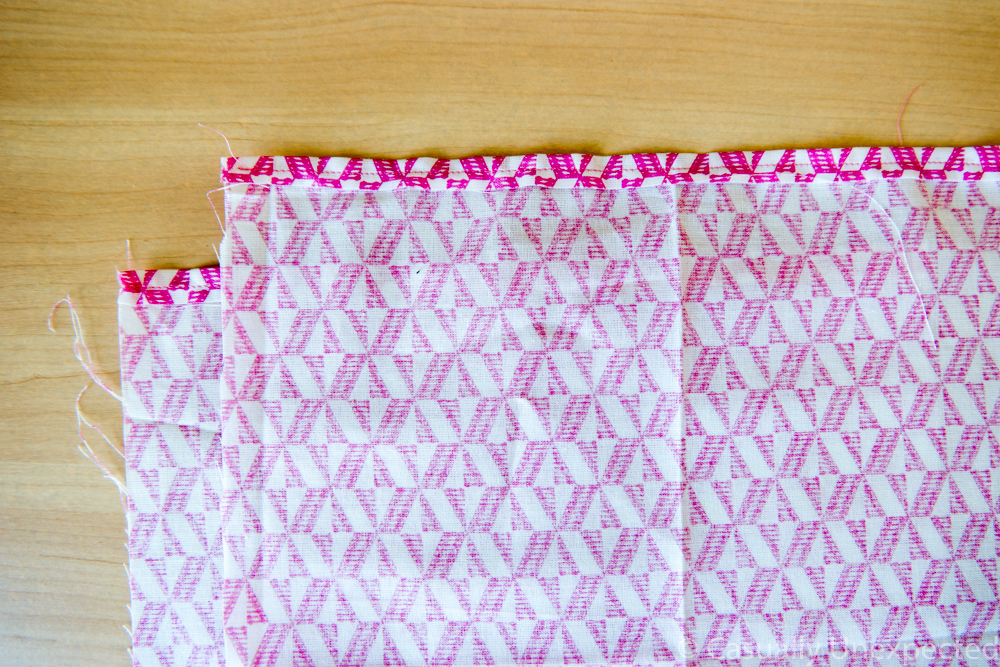
With right sides together, lay your ribbon for the drawstring across your fabric and stick a pin on the top and bottom of each side to mark a gap. Then sew all the way around leaving the gaps unsewn for the string.
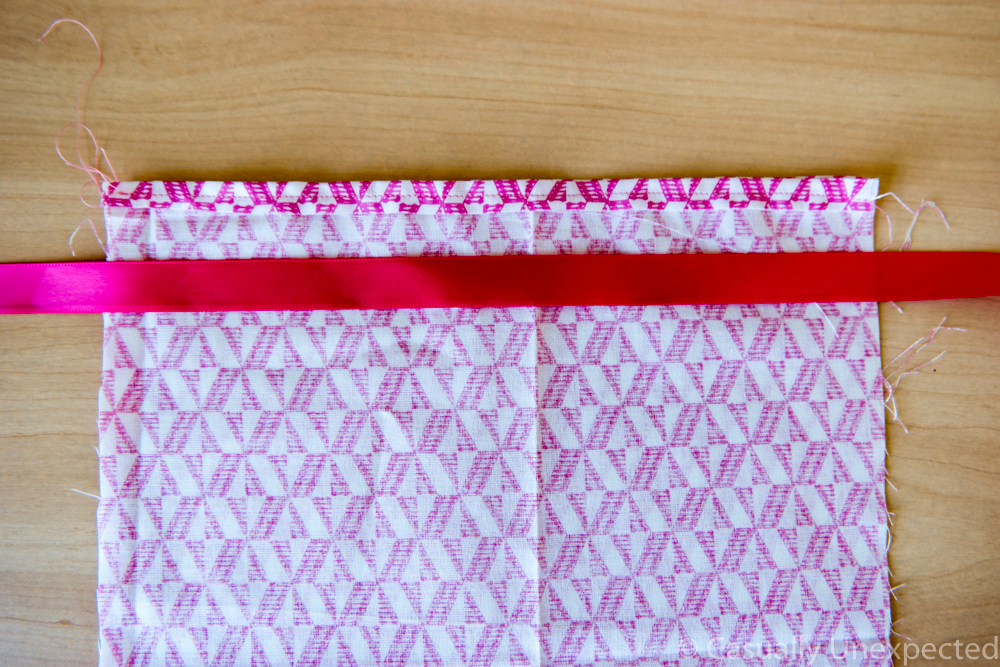
Don’t cut corners! Just kidding, you’ll need to cut off the corners.
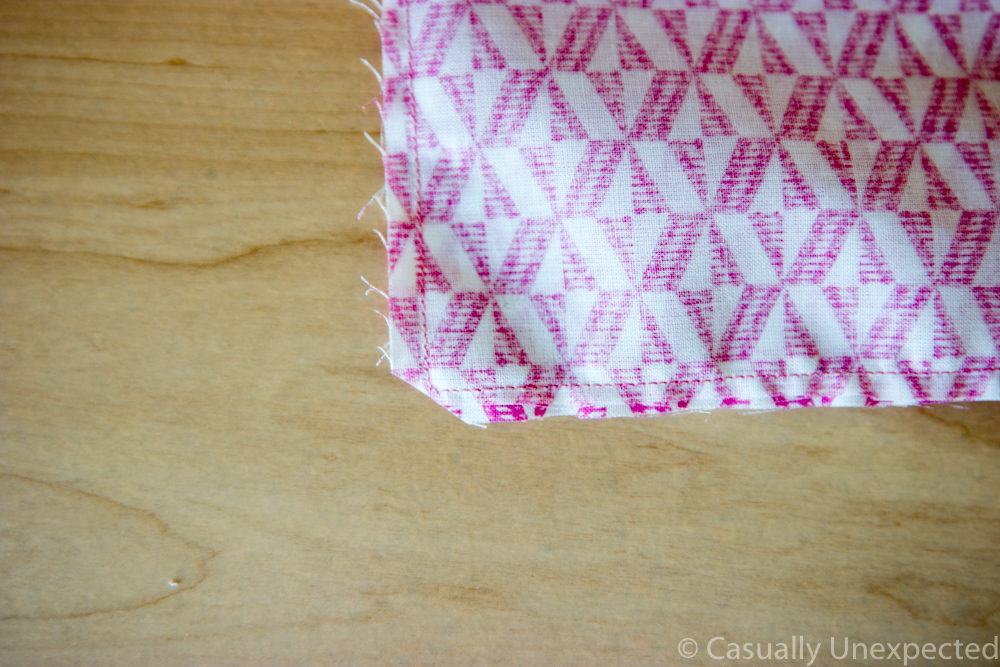
Trim all sides with pinking shears if you have them. If not, you can leave them as is.
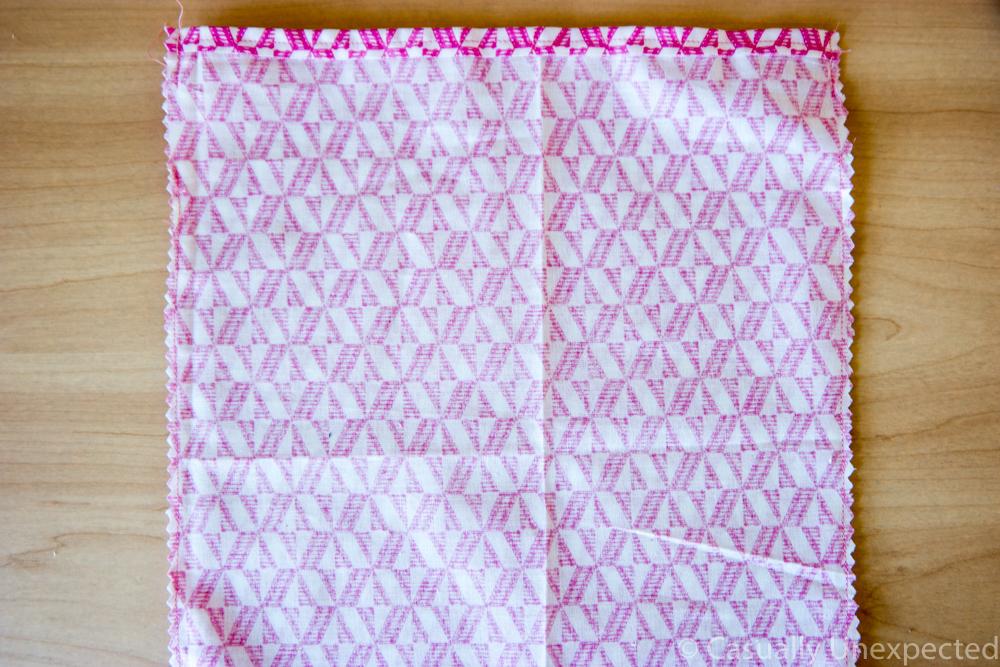
Turn edge of bag over past the holes. This will create the “channel” for the drawstring. Sew across the top.
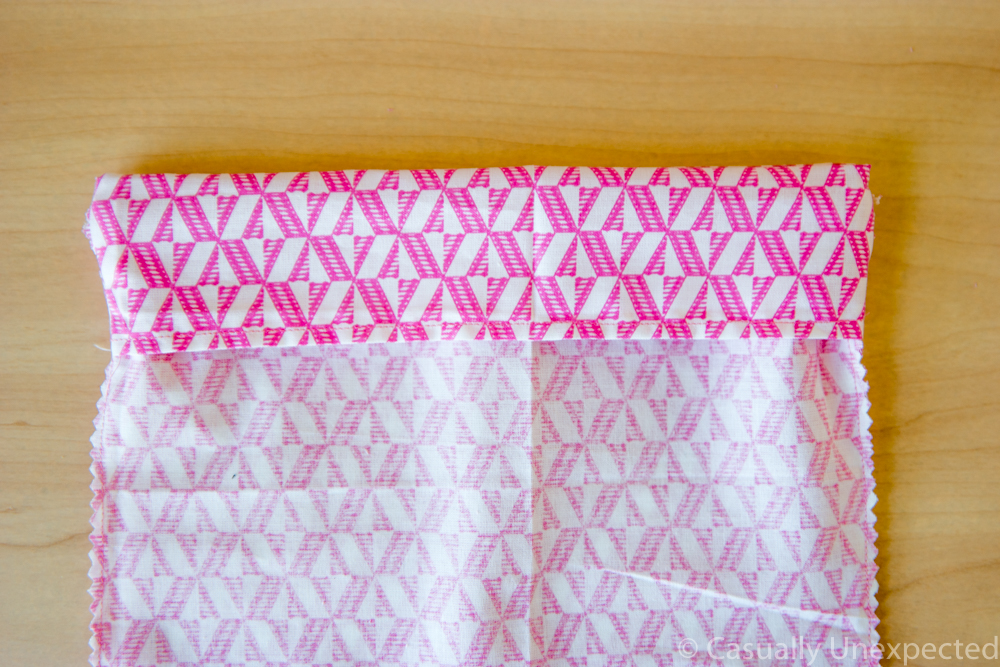
Use a safety pin or a mini binder clip (I’m not sure we even have any safety pins!) and thread the ribbon all the way around to the same hole you started from. Do this to the other side as well. You’ll be using two lengths of ribbon.
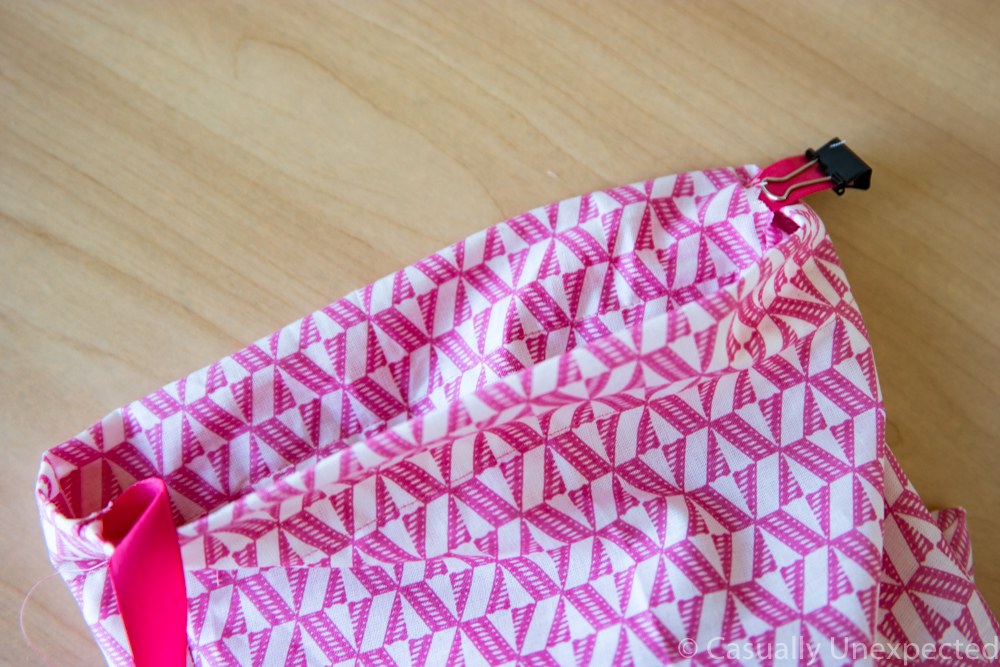
Tie the ends of the ribbon into a knot.
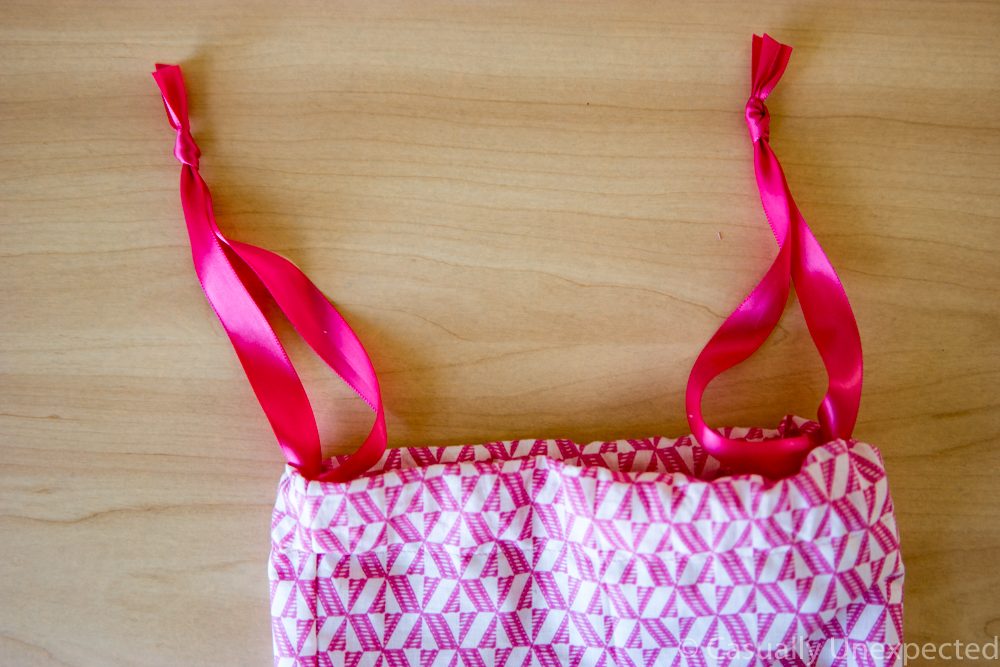
Voila! Easy as pie. Now get to organizing.
What will you be using these bags for?
